This post contains affiliate links. Click here to read our disclaimer.
I tell you, starting your own blog has the potential to drastically change your life in ways you could have never imagined.
It certainly did mine.
Now a little background on how we started
I had to quit my job; I was diagnosed with Major Depressive Disorder. I had panic attacks. I had zero savings, no backup plan. I was literally a mess. I was lost, stuck. I didn’t know what to do next.
After coming across an Income Report on Pinterest, I had this sudden rush of wanting to start my own blog. You know the feeling of having butterflies in your stomach – I felt that but it was the good kind.
Now, I didn’t have any blogging experience. I had no technical background. I didn’t write for a living. Long story short, I was in no place to start my own blog.
That’s where I was totally wrong. You don’t need to have all those things to start your own blog. As long as you have the drive, as long as you want it then you will certainly make it.
That’s why, regardless of having very limited knowledge on Blogging, I decided to dive right in anyway.
And I ‘am so glad I did. Starting my own blog was one of the best decisions I’ve ever made.
Now, I know that starting your own blog can be overwhelming. When I was first starting out, just thinking of all the things that I need to do make me nauseous.
But the good news is, it doesn’t have to be that way for you! I have decided to write a step-by-step guide on how you can easily start your own blog. This guide will walk you through the process and make it as easy and simple as possible.
So, whether you want to start your own blog as a hobby or for profit, this guide will go over the basics of everything that you need to do and how to do it.
Let’s get started!
Choosing your Niche
The best way of choosing what you should blog about is to know your skills and what you’re most passionate about. Like, do you have amazing DIY skills? Or do you love to cook? Do you have a specific set of skills that you want to teach your readers?
Whatever niche you pick, just remember that you will be spending half of your days writing so if you are not really passionate about your topic then constantly creating amazing content might become a chore for you.
So, go with something that you love doing, something that fills your soul with so much drive – it will make things a lot easier.
After picking your niche, it’s time to get building!
Get Hosting
What is hosting?
Hosting is like renting your own space on the internet. They also make sure that your site doesn’t crash.
Now, if you’re debating on whether you should invest in a self-hosted site (paid hosting), I strongly suggest that you do! If you ever have plans of monetizing your blog, a self-hosted site is the BEST way to go! It will be so much easier for you to be accepted to ad networks and it just gives you more security and flexibility with your site’s theme and design. Plus, self-hosting makes your blog look more professional!
Before starting my blog, I was broke, so I was also super hesitant to invest in anything without the certainty of my blog taking off, but I thought of it this way, if investing in a hosting is what it takes for me to monetize my blog, I’m willing to take the risk knowing that this will reward me tenfold in the future.
What hosting to choose?
Bluehost
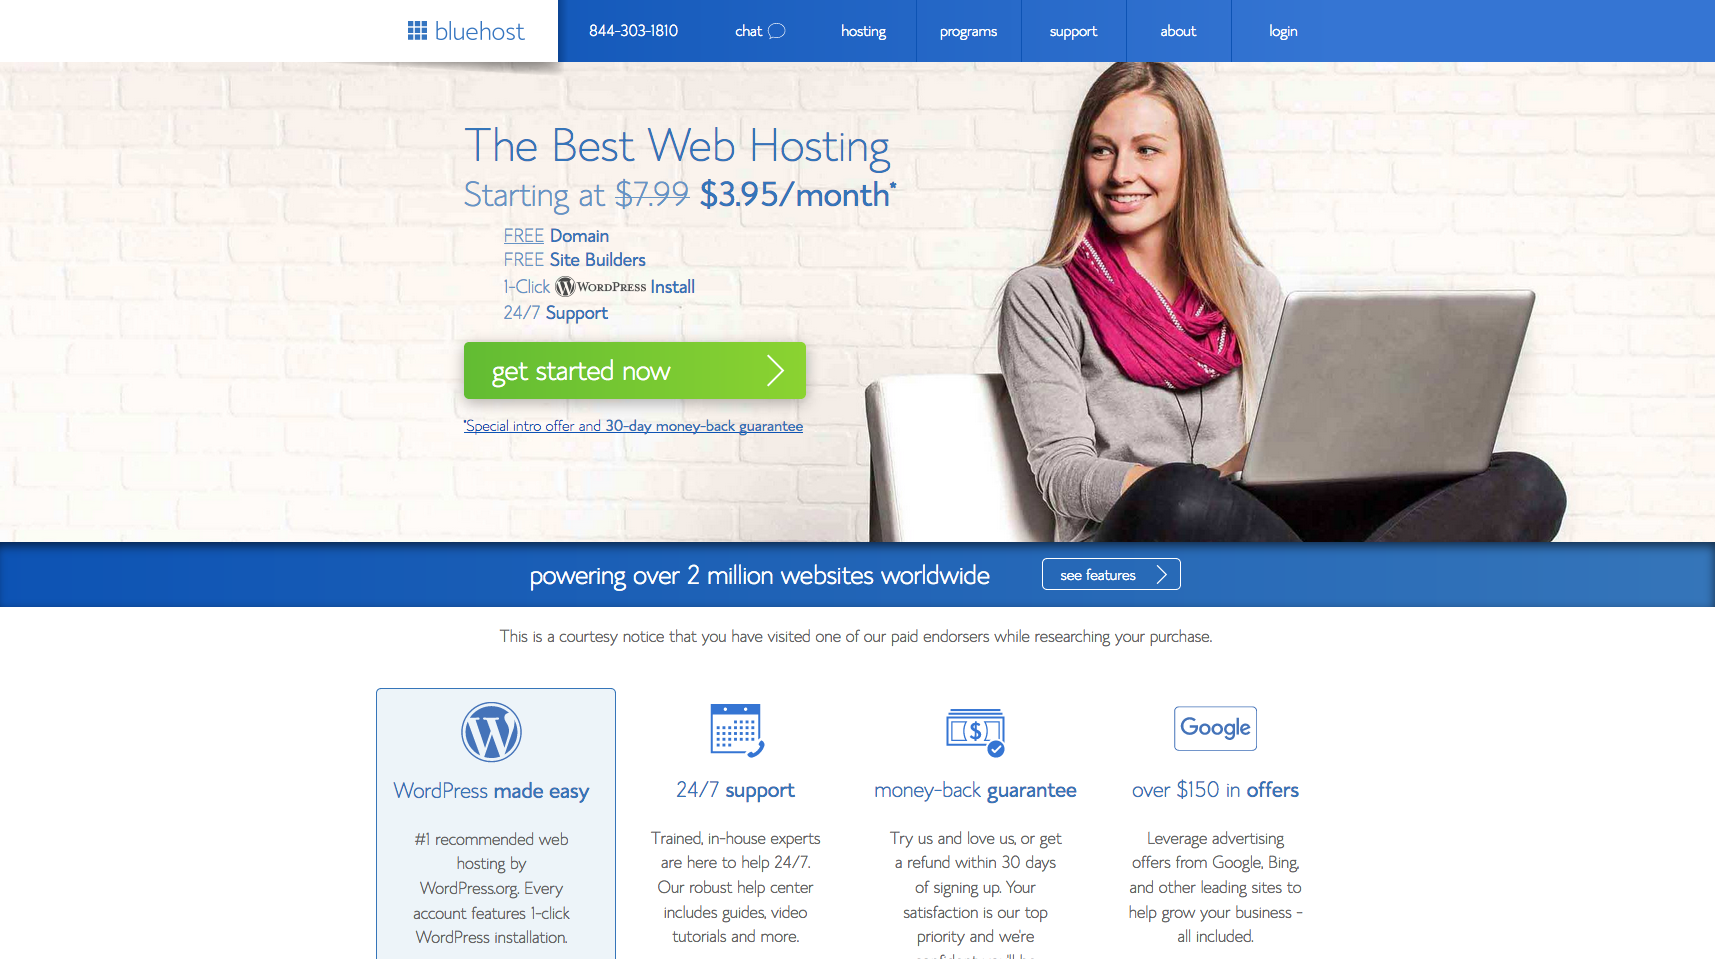
Bluehost is what I use and what I strongly recommend! This hosting is perfect for bloggers who are just starting out since they offer an amazing price for us beginners, plus they are also super professional!
So, if you are looking for a hosting that is budget-friendly and also has amazing service(they will basically help you with any questions that you have), Bluehost is the best way to go! (They’re the ones that everyone recommends)
Definitely check them out!
Get started with Bluehost using this special link
Here’s an overview of what they offer:
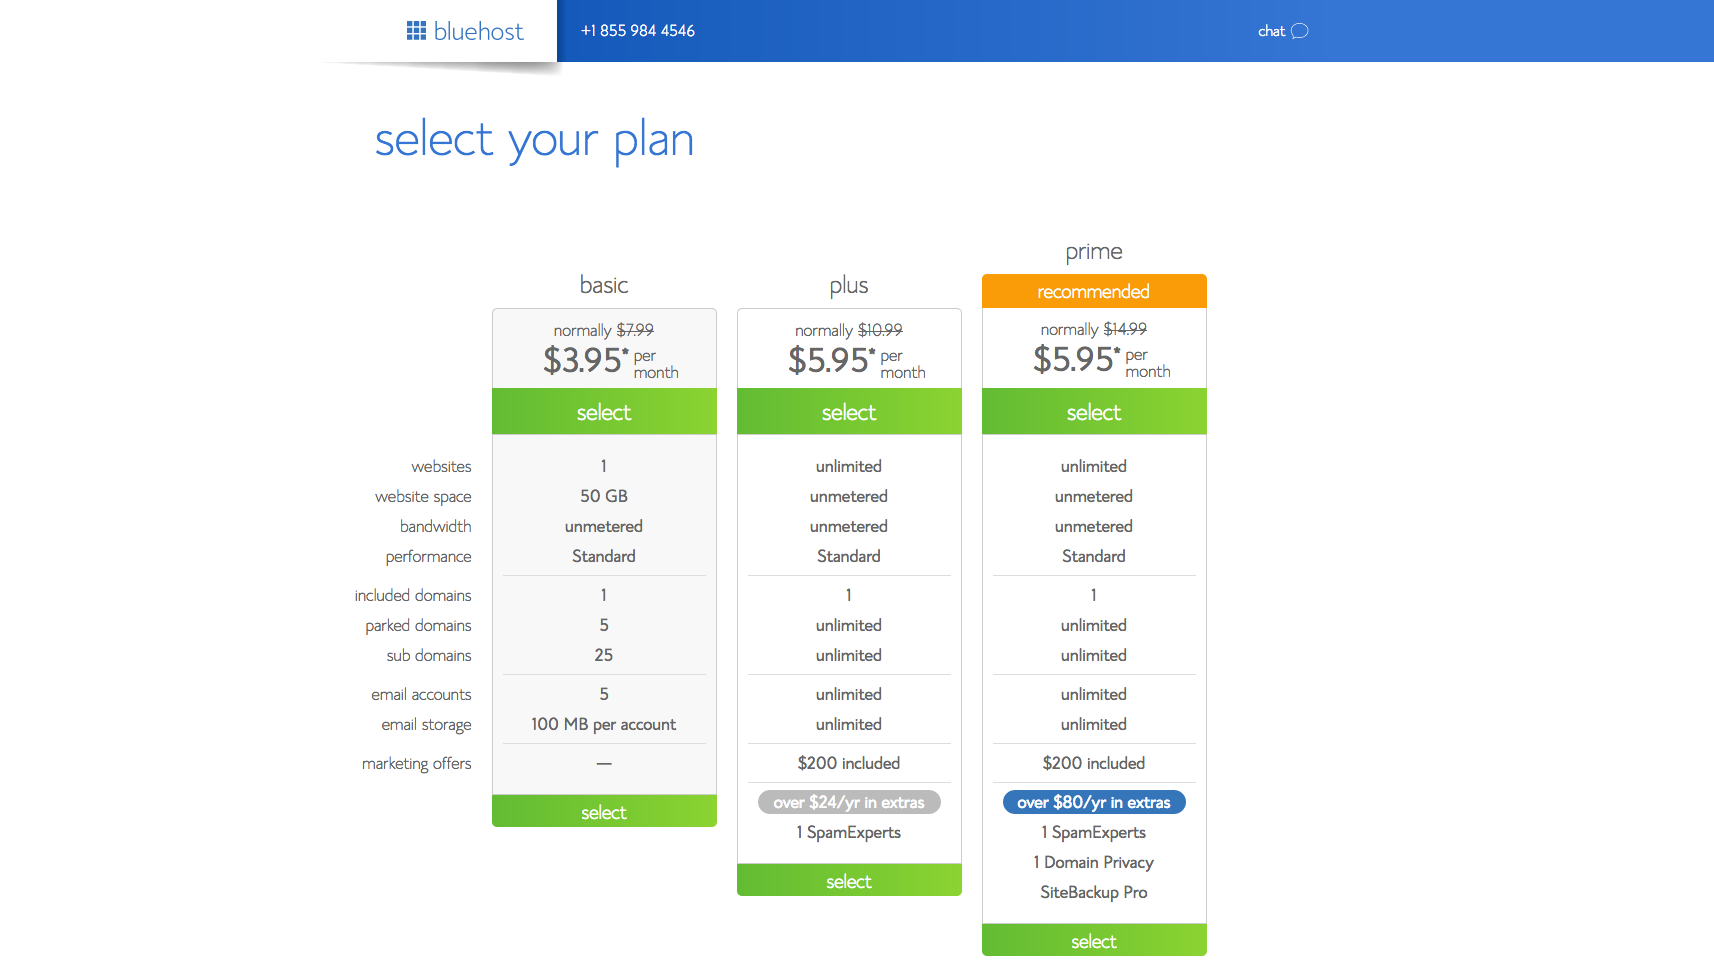
I went with their Basic Plan. I figured it’s just more budget-friendly and perfect for beginners. Whichever plan you choose, you can always upgrade or downgrade in the future.
Here’s an easy step-by-step guide (with screenshots) that’ll show you how to complete the sign-up process.
All you have to do is to register, pick the perfect plan and pay for it. Check out the screenshots below.
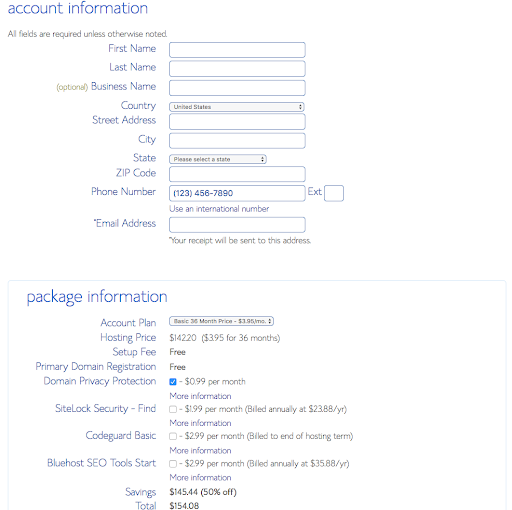
A quick tip, you don’t have to purchase all those extra plugins (Sitelock Security, Codeguard Basic and Bluehost SEO Tools) to save you money, since there are a lot of free plugins available.
Next comes your billing information
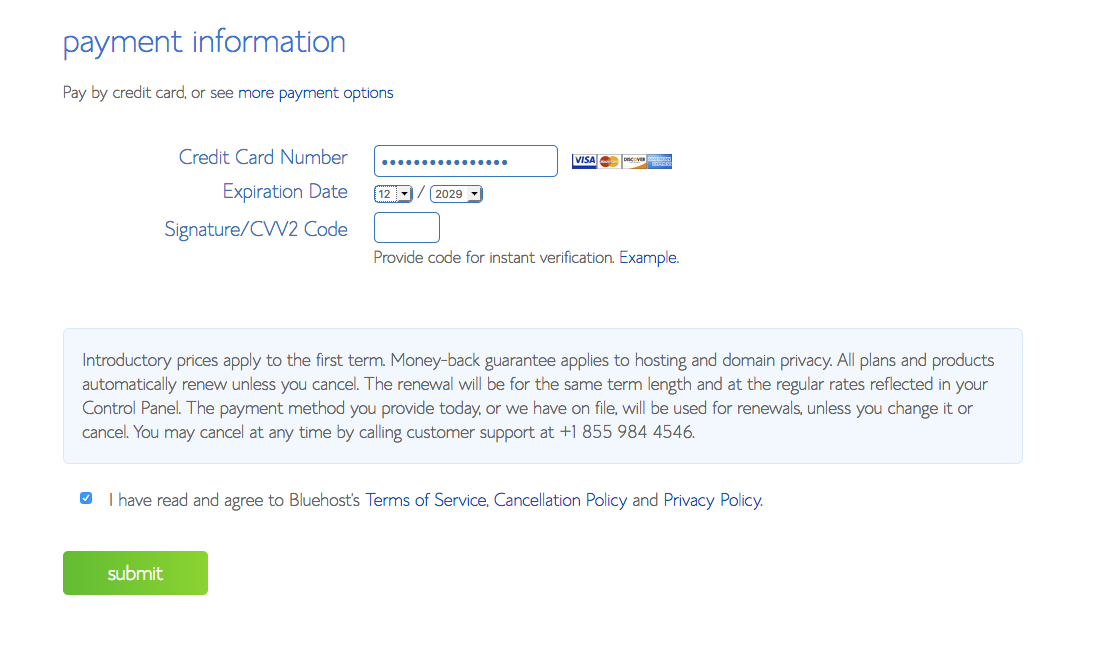
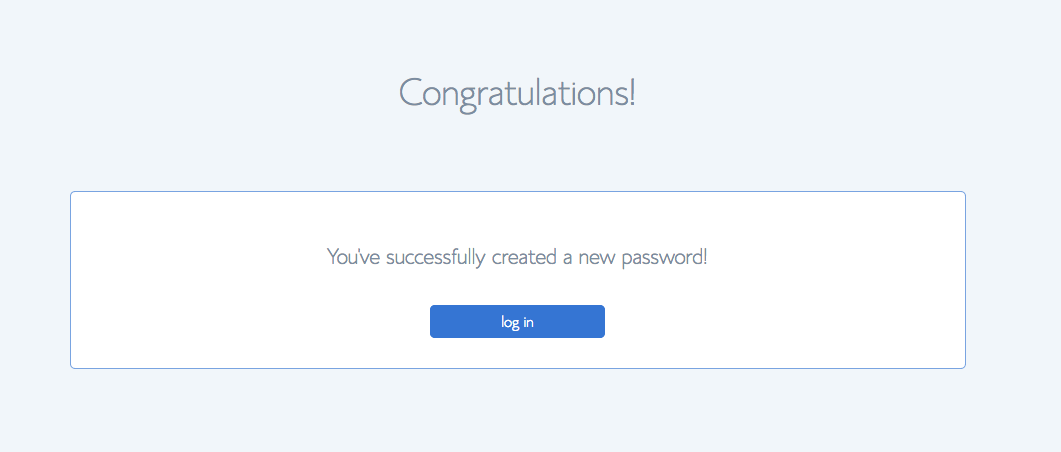
After creating your own password, you’re done.
Welcome to Bluehost!
Choosing a Blog Name
After signing up for hosting, it’s time for you to choose a domain name. Now, if you go with Bluehost, you’ll get your domain name for free! Great, right?
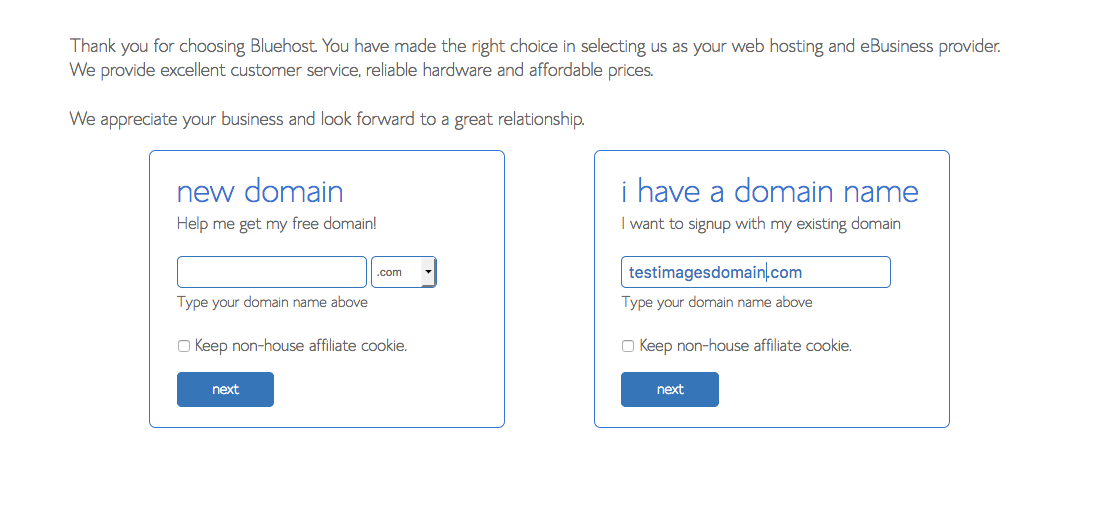
Now choosing a blog name can be so much fun but at the same time frustrating. After all, you would want to choose something that you will really stick with.
So, create your own “brain dump”. Brainstorm a lot of catchy blog names.
It didn’t take long for us to come up with the name Tickled Think, we did have other names listed but Tickled Think just felt so right.
Building Your Blog
There are a lot of platforms to choose from. But, I highly recommend going with WordPress. It’s basically the only platform that almost everyone is using. It just gives you more control over your website, your design and you can easily connect it with Bluehost.
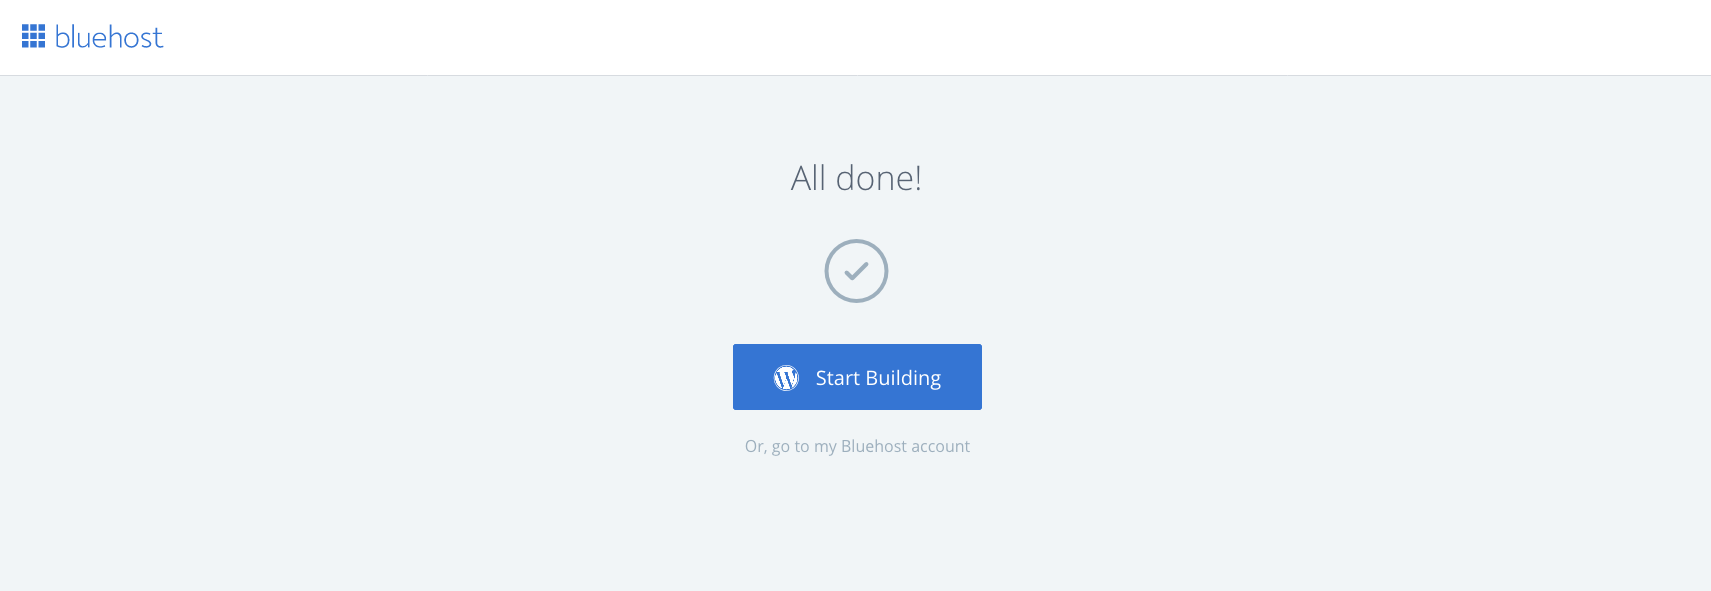
After connecting WordPress with Bluehost this is what you’ll see
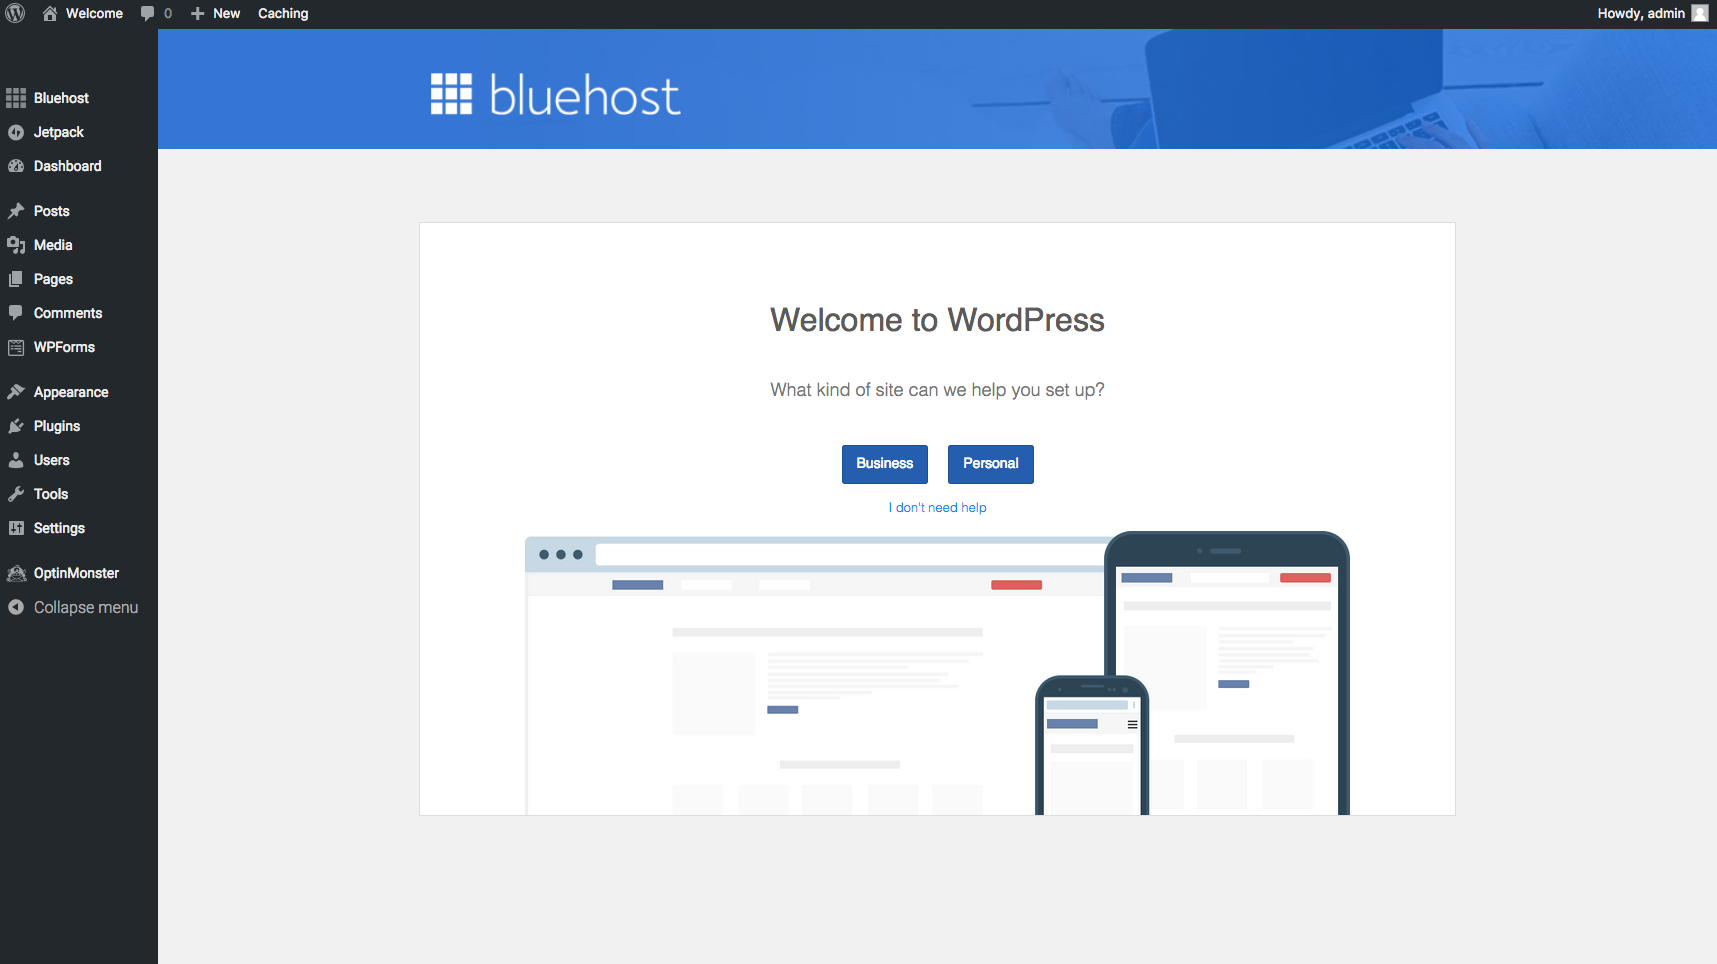
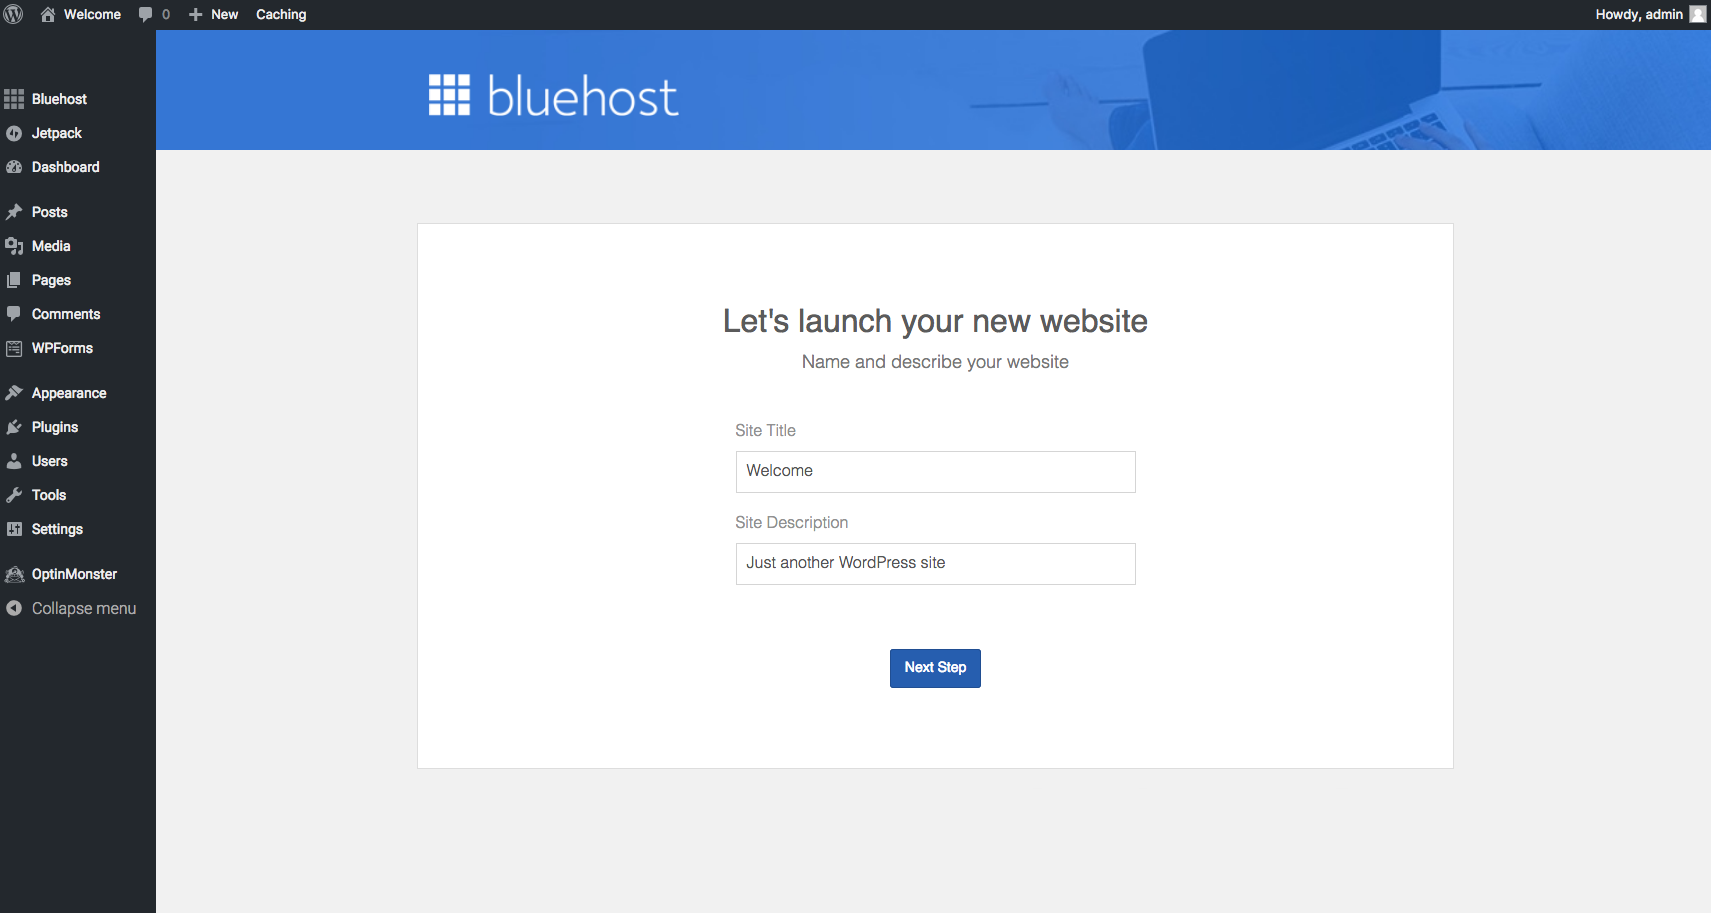
Now enter the Blog name that you’ve chosen, you can even add in a short description and you’re done. You can now start designing your site.
Designing your Blog
Now, here comes the fun part and you’re half-way done! (Yey)
It’s time to choose a Blog Theme
If you go with Bluehost as your hosting, they will automatically give you a list of themes to choose from for FREE!!
These free themes will allow you to choose fonts, color and such. If you have extra money to spare though, try going over some paid themes – they usually have more features.
Also, if web design is not your strongest area, DIVY THEMES is something that you should also consider. They have amazing designs and they just make everything so much easier and simple for you to tweak. All you have to do is to drag and drop, no coding needed.
But as for me, I chose to go with a free theme. I really didn’t want to shell out too much money in creating my blog, so a free theme is perfect.
I got mine free at THEMEGRILL.
After choosing the perfect theme, it’s time to create
• Categories
Categories contain the blog topics that you write about. Like Money, Mental Health and such.
• Pages
Pages usually contain the About Me, Contact Me, Resources, Policies and other categories that you would like to add.
Once you’re done creating those, it’s time to choose your plugins.
Writing your first post
Your blog is all set up, now it’s time to create your very first blog post.
It’s always great to share your own ideas with your readers.
But if you’re having a hard time coming up with the perfect blog topic, one solution is going to Pinterest. I usually go under the explore tab and see what topics people are reading. Sometimes, I even type something like Mental Health, and it will give me different topics under that category and all I have to do is choose.
Grammarly is also an amazing tool for creating great content. It basically checks for spelling and grammatical errors on everything I post and it’s for free (but you can upgrade for higher functionality) If you don’t have the time and luxury to proofread every blog post that you write, then this tool is definitely perfect for you! I’ve installed the Chrome browser extension and Grammarly is always proofreading in the background. This tool just saves me so much time and it helps me create amazing content!
After creating your content, hit publish and you’re done!
Promoting your brand new Blog
Now you can start Promoting your blog and look for ways to drive more traffic.
And one of the best ways to do it is to promote it on Pinterest.
I love Pinterest. It has been and still is our main traffic source.
Click here to learn the Pinterest strategy that we have used to grow our blog!
I hope this step-by-step guide will help you in starting your own blogging journey. I really want to make this as easy and as simple as possible for you. If you have any questions, feel free to send me an email, I would love to hear from you!
Found this post helpful? Pin it on Pinterest.
Very interesting, thank you